Vintage Camera Film Developing
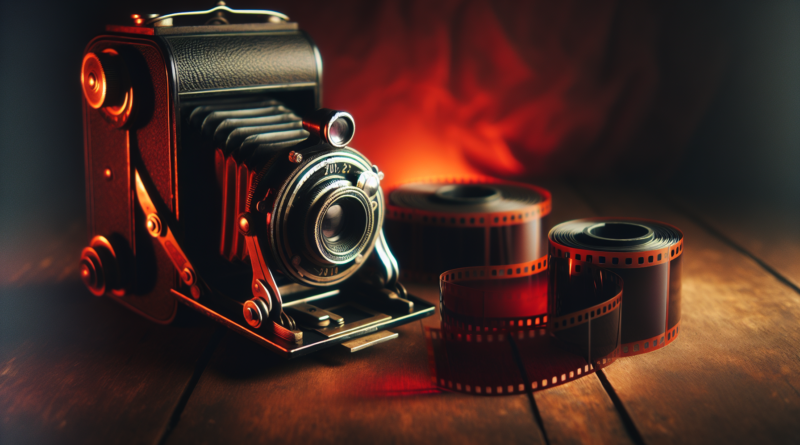
Imagine having the ability to bring the past to life through the lens of a vintage camera. The article on “Vintage Camera Film Developing” equips you with interesting insights and step-by-step guidelines, transforming you into a specialist in an art that’s close to becoming antiquated. You’ll journey through an engaging process, right from understanding vintage cameras and their components, to mastering the art of film developing and image revelation. The guide reconnects you with an era that truly understood the patience and dexterity dedicated to photography while adding a nostalgic, unique touch to your present photographic expertise.
Understanding Vintage Cameras
Understanding the basics
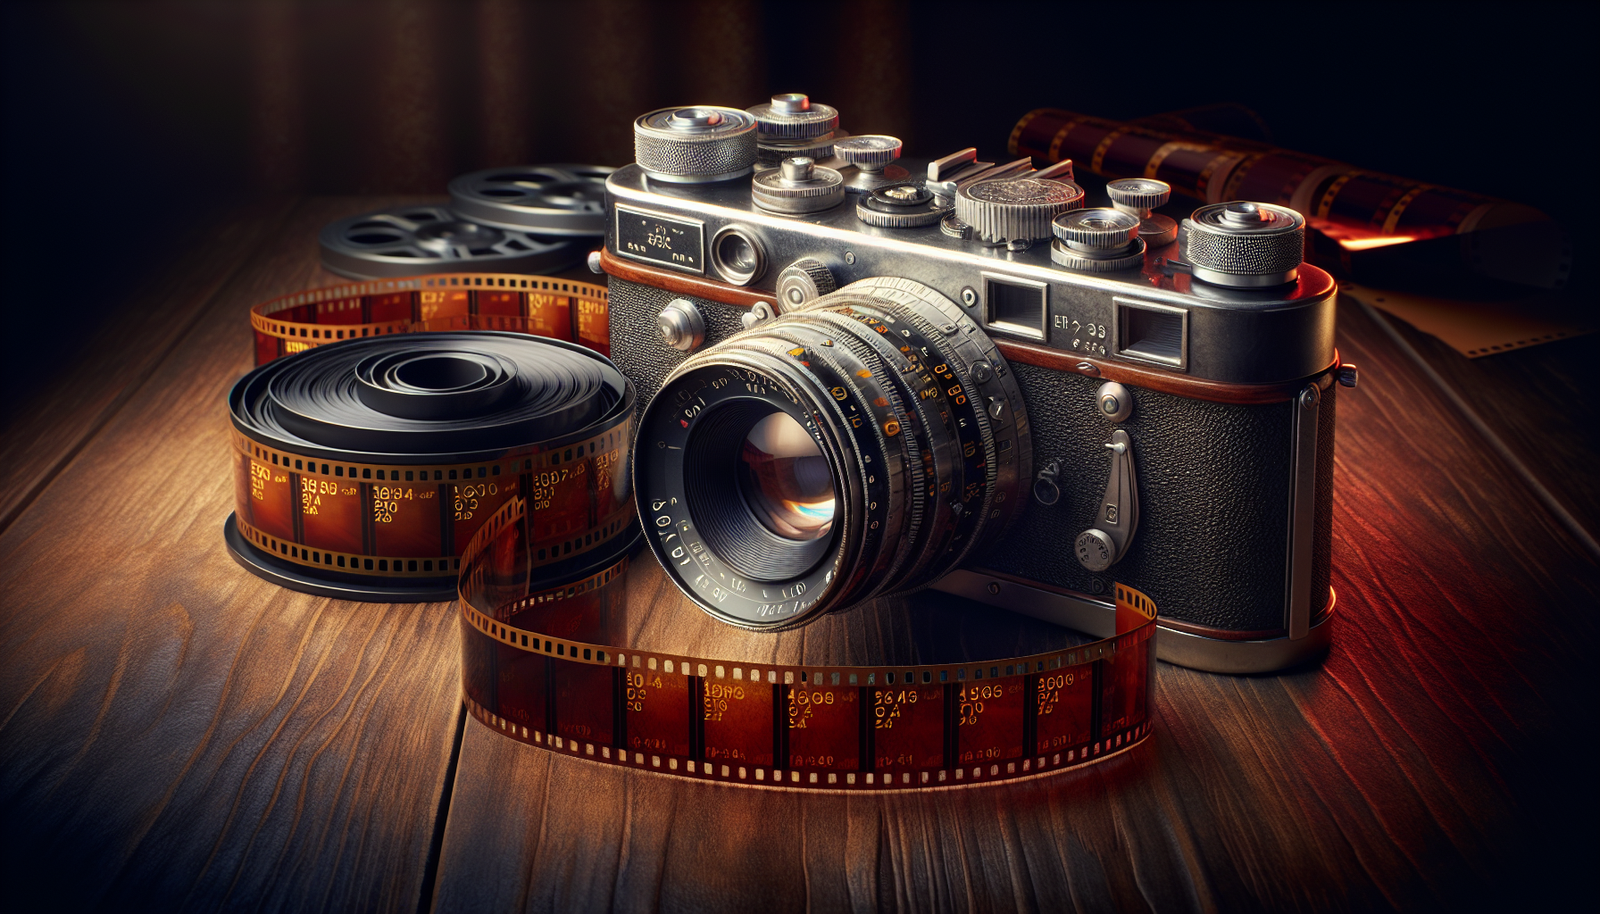
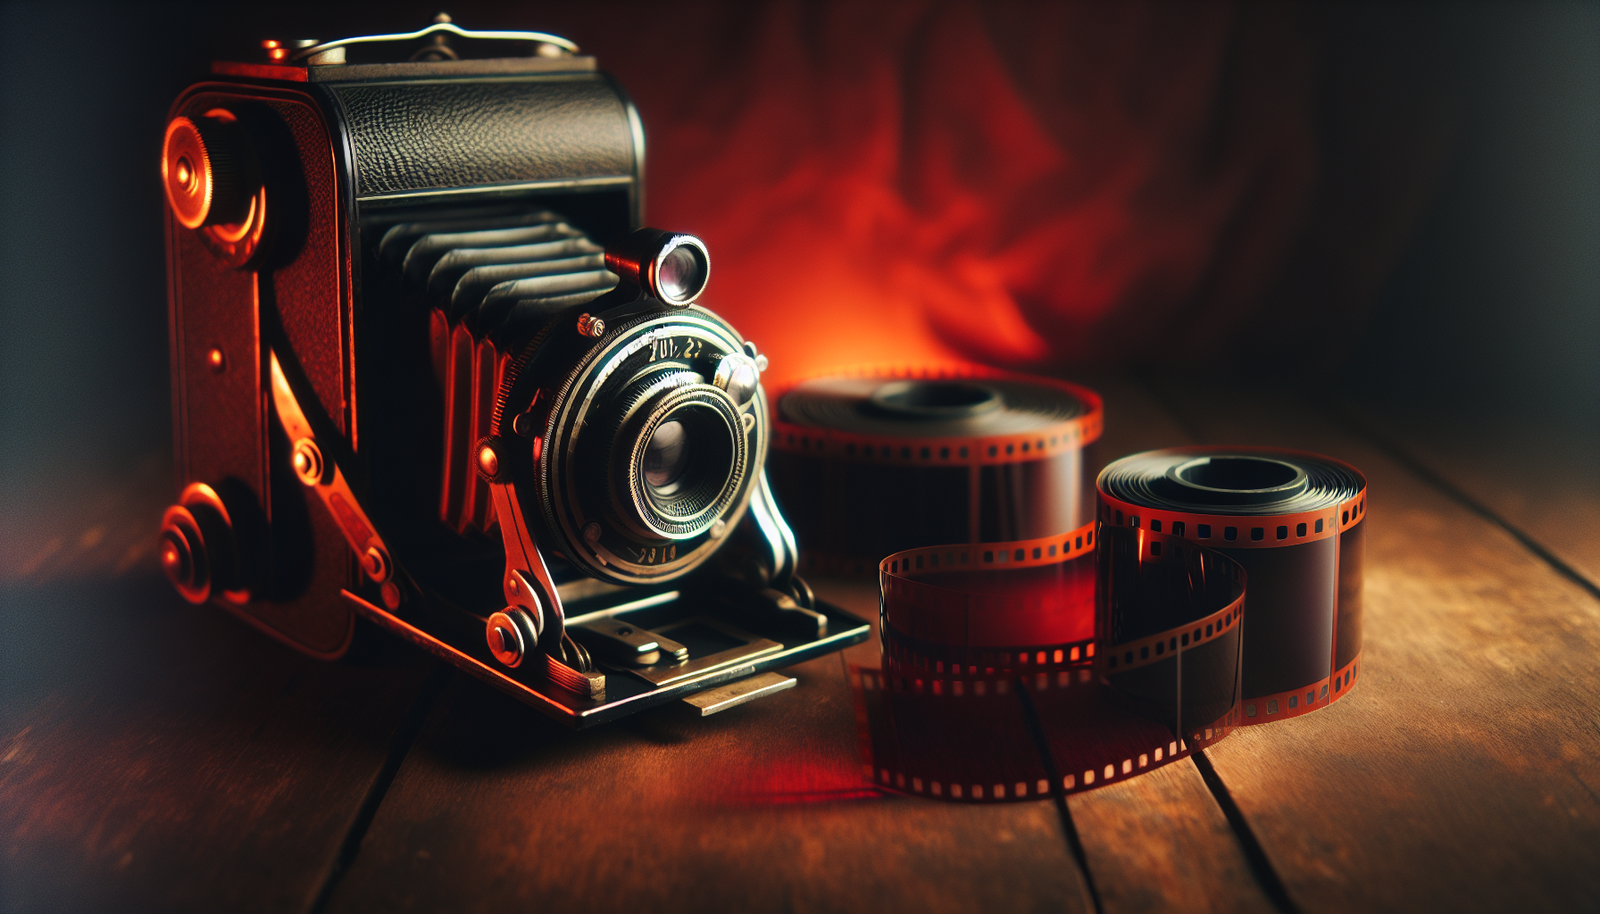
Let’s dive into the world of vintage cameras. These nostalgic, functional pieces of history have captivated the hearts of photography enthusiasts worldwide. Being entirely mechanical, they are a testament to the skill of early engineers and craftsmen. They are built to last, constructed from robust materials such as metal and glass. Unlike digital cameras, vintage cameras use film to capture and record images. Developing this film is an art in itself and one that offers a uniquely physical connection to your work.
Historical context of vintage cameras
Looking at the history of vintage cameras, you quickly realize they were revolutionary devices that changed the way we capture moments in time. The first cameras, dating back to the 19th century, were larger and more cumbersome than the portable devices of today. Over time, cameras evolved, becoming more user-friendly and accessible to the average person. The advancements in these historic inventions laid the groundwork for the versatile and high-tech cameras we enjoy now.
Different models and their characteristics
There are numerous models of vintage cameras, each with their unique characteristics. From the Box Camera of the late 1800s to the more compact and user-friendly 35mm camera from the mid-20th century, each has its charm and capability. Notably, one of the most cherished camera models is the SLR (Single Lens Reflex) camera. The SLR camera, with its ability to swap lenses and manual control appeal, has become a favorite amongst vintage camera collectors and users.
Essential Equipment for Film Developing
Identifying necessary equipment
Delving into film developing can be a bit intimidating at first. The first step is to understand and identify the necessary equipment. Some of the equipment you’ll need includes a developing tank, film reels, thermometer, graduates (cylinders for measuring liquids), film clips, and a changing bag.
Function of each piece of equipment
Each piece of equipment plays a crucial role in film developing. The developing tank is where your film undergoes chemical processing. Film reels hold the film in place inside the tank. A thermometer ensures the chemicals are at the correct temperature. Graduates allow you to measure the right amount of chemicals. Film clips help you hang the negatives to dry after washing, and a changing bag provides a light-tight environment for loading your film onto the reels.
Where to purchase
Believe it or not, there are many places where you can purchase film developing equipment, both new and used. Some enthusiasts prefer to scout thrift stores, antique shops, or online marketplaces such as eBay. However, if you prefer new equipment, numerous online and physical photography stores provide a vast array of film developing tools.
The Film Developing Process
Understanding the process
Understanding the film developing process might seem like a daunting task initially, but it’s less complex than you’d imagine. Essentially, the process involves a series of steps where film is exposed to a set of chemicals, each serving a unique function.
List of necessary chemicals
To develop your film, you’ll need a set of necessary chemicals. These include a developer, stop bath, fixer, and a wetting agent. The developer is what brings out the latent image on your film. The stop bath then halts the development process. The fixer removes unexposed silver halides from the film, making the image permanent. Finally, a wetting agent helps the final wash water to flow off the film evenly, preventing water spots.
Detailed steps in the process
A detailed step-by-step process includes first preparing and mixing your chemicals according to the specifications given. Then. in complete darkness, you load the film onto the film reel and place it in the developing tank. The film is first soaked in the developer, then the stop bath, followed by the fixer. The film is then washed to remove any remaining chemicals and soaked in the wetting agent. Finally, the film is hanged to dry, after which you will have beautifully developed negatives ready for printing or scanning.
Common Mistakes to Avoid
Identifying potential errors
Like any process, developing film is prone to potential errors. Some issues you might face include under or over-developing your film, introducing streaks due to uneven development, fogging due to inappropriate handling or storage, and getting water spots on your negatives.
Troubleshooting techniques
Troubleshooting in film developing involves identifying issues at hand and implementing appropriate corrective actions. If your photos appear too dark or too light, you likely under or over-developed them respectively. Uneven development can be resolved by ensuring thorough agitation of the tank during the developing process. To prevent fogging or water spots, handle and store your film adequately and make use of the wetting agent.
How to rectify common mistakes
Rectifying mistakes in film development largely depends on the specific issue. In most cases, redeveloping the film may not be an option. However, many problems are salvageable through digital scanning and editing. For the future, learning from your mistakes is pivotal. Understanding how to tweak your technique or altering the chemical mix can ensure better results next time.
Safety Precautions
Understanding the potential risks
While exhilarating and rewarding, film developing involves handling chemicals that can be potentially harmful if not done correctly. Therefore, understanding the potential risks is essential to ensure safety.
Chemical handling and storage
When handling chemicals for film development, always protect your skin and eyes, never ingest or inhale any chemicals, always wash your hands after handling, and store the chemicals in a cool, dry, and dark place well out of reach from children or pets.
Personal protective equipment
In terms of Personal Protective Equipment (PPE), consider wearing chemical-resistant gloves, safety goggles, and a lab apron. Making a habit of wearing your PPE can make the entire process much safer.
Developing Techniques
Different techniques for different results
Different developing techniques yield different results in your final images. Push and pull processing, for example, allows you to manipulate the exposure range of your film. Stand development, on the other hand, can provide an excellent level of shadow detail and sharpness.
Artistic considerations
The film developing techniques you choose to employ can significantly affect the ‘feel’ of your photographs. They can provide a sense of antique charm, nostalgic warmth, or introduce a range of textures and contrasts. Discovering your desired aesthetic can direct your choices in the darkroom.
Experimenting with development techniques
Nothing fuels creativity like experimentation. Remember, developing film is as much an art form as it is a process. Don’t be afraid to mix up your techniques, create different tonal effects, or push the bounds of what’s possible. It might lead to a unique style that sets your photography apart.
Caring for Vintage Cameras
Maintenance basics
Regular maintenance is crucial to keep your vintage camera in working order. This includes adjusting and lubricating the camera’s mechanical parts, ensuring the light seals are intact, checking for shutter accuracy, and ensuring that the lens is clean and scratch-free.
Cleaning techniques
When cleaning vintage cameras, always approach with a gentle hand. Use a soft brush to remove dust, a microfiber cloth for cleaning lens, and a blower to remove any loose debris inside the camera. Never use any harsh chemicals or abrasive materials that could damage the camera body or lens.
Preventing common problems
Preventing common problems in vintage cameras often boils down to proper storage and careful handling. Always store your camera in a cool, dry place when not in use. Don’t force any mechanical parts, and never expose your camera to extreme conditions.
Film Scanning and Printing
Introduction to film scanning
Once you’ve developed your film, the next step is scanning or printing your negatives. To digitize your images, you’ll need a good quality film scanner. Proper scanning allows you to archive, share, or digitally post-process your images.
Understanding printing processes
If you want to experience the full magic of analog photography, you might want to print your photos. The printing process involves projecting the image from your negatives onto photographic paper using an enlarger in a darkroom.
Tips for high quality prints
High-quality prints result from proper focusing, correctly exposed and developed negatives, and the right choice of photographic papers. The image on the paper is then developed, stopped, fixed, and washed in a similar fashion to developing film.
Restoring Old and Damaged Film
Assessing the damage
Restoring old and damaged film is a fantastic way to preserve memories and historical events. However, before you begin the process, you need to assess the damage. This could be anything from physical scratches or tears, to deteriorations in the emulsion due to mold or age.
Steps to restore old film
The restoration process involves careful cleaning and physical repair (in the case of scratches and tears) and chemical treatments for issues like staining. Depending on the nature and extent of the damage, some negatives may require professional restoration.
Preserving restored film
Once restored, it’s crucial to adequately preserve your old film. Archival sleeves, made of acid-free materials, are typically used to house negatives. These then need to be stored in a cool, dry, and dark environment to prevent further damage.
Further Resources and References
Books and publications
There are many books and relevant publications in the area of film photography and developing. Manuals and vintage photography magazines are full of technical advice and inspiring content. Making a habit of reading and learning from these resources can enrich your analog photography journey.
Online resources and communities
In the digital age, online resources are plentiful. They range from online tutorials and articles, to forums and social media groups where fellow film enthusiasts share their knowledge, advice, and experiences.
Courses and workshops
Many local colleges, arts centers or photography stores offer courses and workshops on film photography and development. Not only will you learn hands-on, but you’ll also meet others in your local community who share your passion.
So that’s it — an introduction to the magical world of vintage cameras and film developing. Time to dust off that old camera and delve into the rewarding process of creating images the traditional way. The beauty of it all is there is always more to learn and experiment with, providing you with endless potential for expression and satisfaction.

