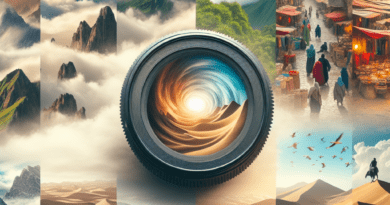
Vintage Camera Film Developing
Are you a photography enthusiast with a love for vintage cameras and the art of film photography? If so, you’ll be delighted to explore the world of vintage camera film developing. In a time when digital photography dominates, there’s something magical and nostalgic about shooting on film and developing your own images. Vintage camera film developing allows you to immerse yourself in the traditional process of capturing and preserving memories on film, while also uncovering the unique aesthetic qualities that only film can provide. So grab your favorite vintage camera, dust off your darkroom equipment, and embark on a journey of creativity and nostalgia with vintage camera film developing.
Vintage Camera Film Developing
Welcome to the world of vintage camera film developing! In this comprehensive article, we will guide you through the process of developing film using vintage cameras. Whether you are a photography enthusiast or a hobbyist, this guide will help you understand and appreciate the art of film photography. So let’s dive in and explore the fascinating world of vintage camera film developing!
Understanding Vintage Cameras
Before we embark on the journey of film developing, it’s important to have a good understanding of vintage cameras. These cameras, often considered gems of the past, capture images by exposing film to light. Vintage cameras come in various formats, such as 35mm, medium format, and large format. Each format has its own unique characteristics and requires specific techniques for film developing. By familiarizing yourself with the different types of vintage cameras and their functionalities, you will be better prepared to choose the right camera for your film photography adventures.
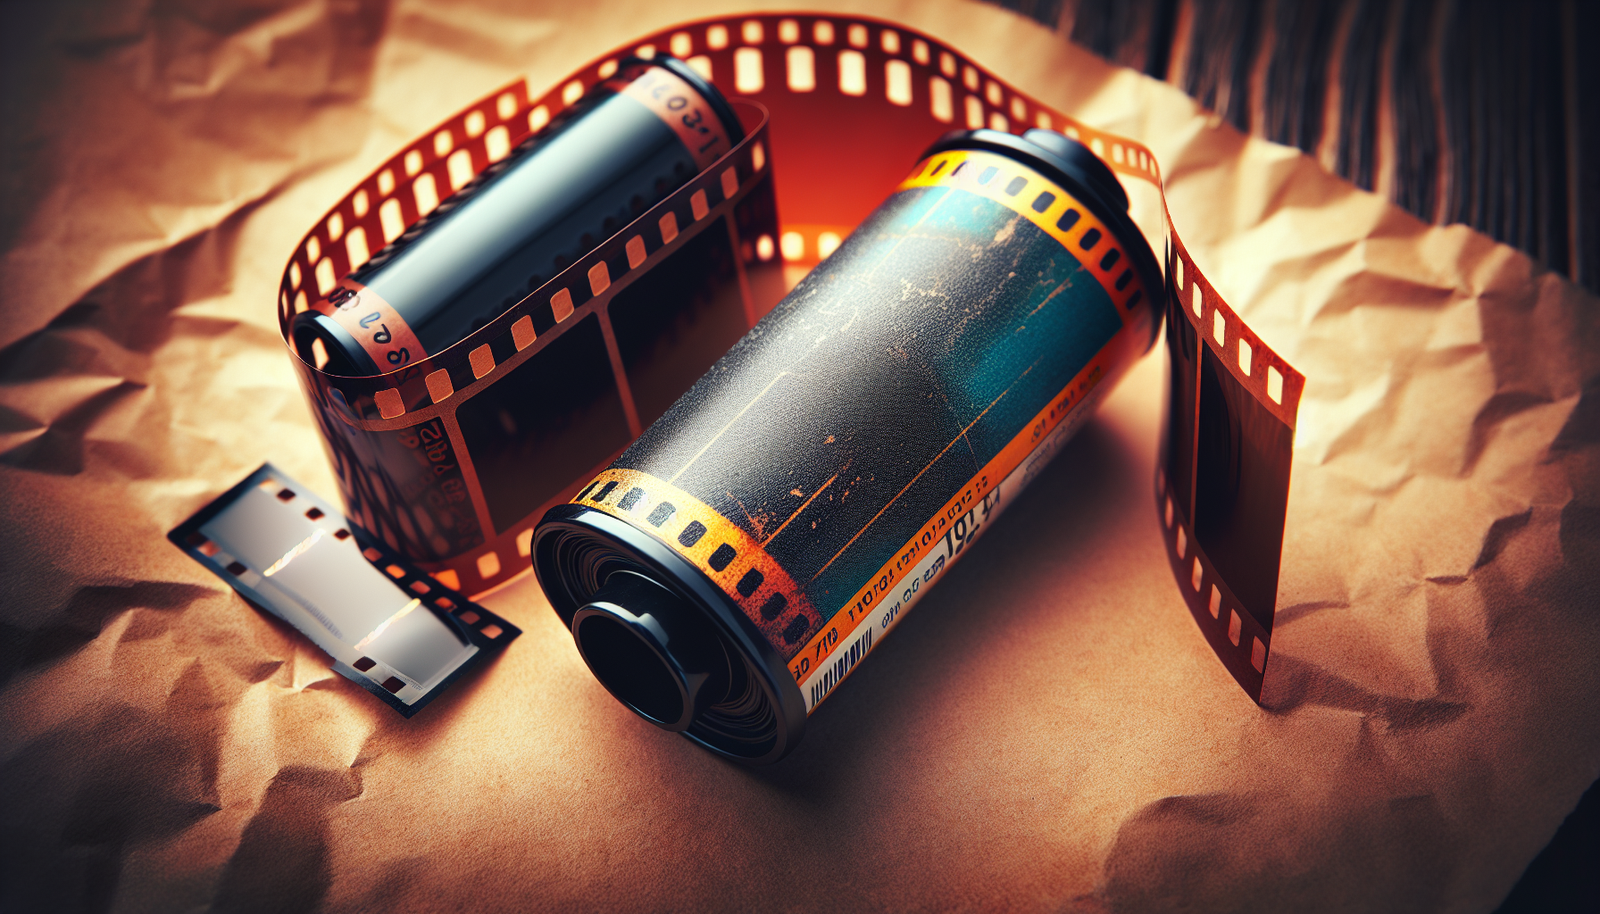
Film Basics
Film photography relies on the use of light-sensitive film to capture images. Vintage cameras use different types of film, such as black and white, color negative, and slide film. Each type has its own unique properties and aesthetic qualities. Black and white film offers a classic and timeless look, while color negative film produces vibrant and realistic colors. Slide film delivers rich and saturated colors, making it ideal for capturing breathtaking landscapes and vibrant scenes. Understanding the characteristics of each type of film will help you choose the perfect film for your creative vision.
Choosing the Right Film
Selecting the right film is crucial to achieving the desired results in your vintage camera photography. Consider factors such as film speed, grain size, and color rendition when choosing your film. Film speed refers to the film’s sensitivity to light, with higher speeds being more sensitive. Low-speed films are great for capturing fine details, while high-speed films excel in low-light conditions. Grain size affects the film’s texture and overall aesthetic, with smaller grains producing smoother images. Color rendition varies between different film brands, so experiment with different films to find the one that aligns with your artistic vision.
Equipment and Supplies Needed
To embark on your vintage camera film developing journey, you will need a set of essential equipment and supplies. Some of the necessary items include a film developing tank, reel, thermometer, film clips, measuring cylinders, and a changing bag (for loading and unloading film in darkness). Additionally, you will need developer, stop bath, fixer, and rinse aid solutions, as well as water for the film washing process. Investing in high-quality equipment and supplies will ensure consistent and reliable results in your film developing endeavors.
Setting Up a Darkroom
Creating a darkroom is an essential step in vintage camera film developing. A darkroom provides a controlled environment that is devoid of light, allowing you to handle and process the film without the risk of light exposure. Choose a room with minimal windows or cover the windows with blackout curtains to eliminate any unwanted light sources. Install a red safelight to provide visibility without affecting the light-sensitive film. Equip your darkroom with a properly ventilated sink, ample counter space, and storage for your equipment and supplies. With a well-organized and functional darkroom, you will have a dedicated space to bring your film to life.
Preparing the Film for Developing
Before diving into the film developing process, it’s important to properly prepare the film for development. Begin by unloading the exposed film from your vintage camera in a darkroom or changing bag. Cut the film leader and attach it to the reel, ensuring it is securely fastened. Load the film onto the reel, taking care to align the sprocket holes with the corresponding slots on the reel. Make sure the film is evenly wound and tight to avoid any creases or light leaks. Once the film is securely loaded onto the reel, it is ready to be placed in the developing tank.
Film Developing Process
Now that your film is loaded onto the developing tank, it’s time to dive into the film developing process. Start by pouring the developer solution into the tank, following the manufacturer’s instructions for dilution and development time. Agitate the tank gently at regular intervals to ensure even development of the film. Once the development time is complete, pour out the developer solution and proceed to the stop bath. The stop bath halts the development process and prepares the film for fixing. After the stop bath, pour in the fixer solution and agitate the tank for the recommended fixing time. Fixing permanently stabilizes the image on the film, making it resistant to further light exposure.
Chemicals and Solutions
The chemicals and solutions used in film developing play a crucial role in obtaining high-quality results. Developer, stop bath, fixer, and rinse aid are the primary solutions needed for the film developing process. There are various brands and formulations available for each solution, so choose ones that are suitable for the type of film you are using. It’s important to mix and dilute the chemicals accurately, following the manufacturer’s instructions. Proper handling and disposal of chemicals are also imperative to ensure the safety of both yourself and the environment.
Fixing and Washing the Film
After the fixing stage, it’s time to wash the film to remove any residue from the chemicals. Fill the developing tank with water and agitate it gently to ensure thorough rinsing of the film. Repeat the rinsing process several times until the water runs clear, indicating that all traces of the fixer have been removed. Once the film is adequately rinsed, it is ready for the final step in the film developing process.
Drying and Storing the Developed Film
After washing, carefully remove the film from the developing tank and hang it to dry in a dust-free environment. Avoid exposing the film to direct sunlight or excessive heat, as this can damage the emulsion. Once the film is completely dry, store it in archival sleeves or negative holders to protect it from dust, scratches, and other potential damages. Label and organize your developed films for easy retrieval and future reference.
Congratulations, you have successfully developed your vintage camera film! The thrill of seeing your images come to life is unmatched, and each developed film serves as a tangible piece of your artistic journey. Remember to practice and experiment to refine your film developing skills and unleash the full potential of your vintage cameras. Enjoy the process and embrace the beauty of film photography in this digital age. Happy shooting!