Retro Arcade Machine Repair
If you’re a fan of classic gaming and have a beloved retro arcade machine that’s seen better days, then Retro Arcade Machine Repair is here to help. From fixing glitchy screens to replacing worn-out buttons, our friendly and skilled technicians are experts in the art of restoring vintage arcade machines. Whether you’re a seasoned gamer or simply nostalgic for the good old days of arcade gaming, our team is dedicated to bringing your machine back to its former glory. With a passion for preserving gaming history and a commitment to quality craftsmanship, Retro Arcade Machine Repair is your go-to destination for all your arcade machine restoration needs.
Retro Arcade Machine Repair
Welcome to the world of retro arcade machine repair! If you’re someone who loves the nostalgic charm of classic arcade games and wants to bring these vintage machines back to life, you’ve come to the right place. In this comprehensive article, we’ll guide you through understanding retro arcade machines, common issues you may encounter, the tools and equipment needed for repairs, basic troubleshooting techniques, and steps to replace faulty components. We’ll also cover adjusting and cleaning arcade buttons, repairing the monitor, dealing with sound issues, fixing power supply problems, and restoring cabinets and artwork. So grab your toolbox and let’s get started!
Understanding Retro Arcade Machines
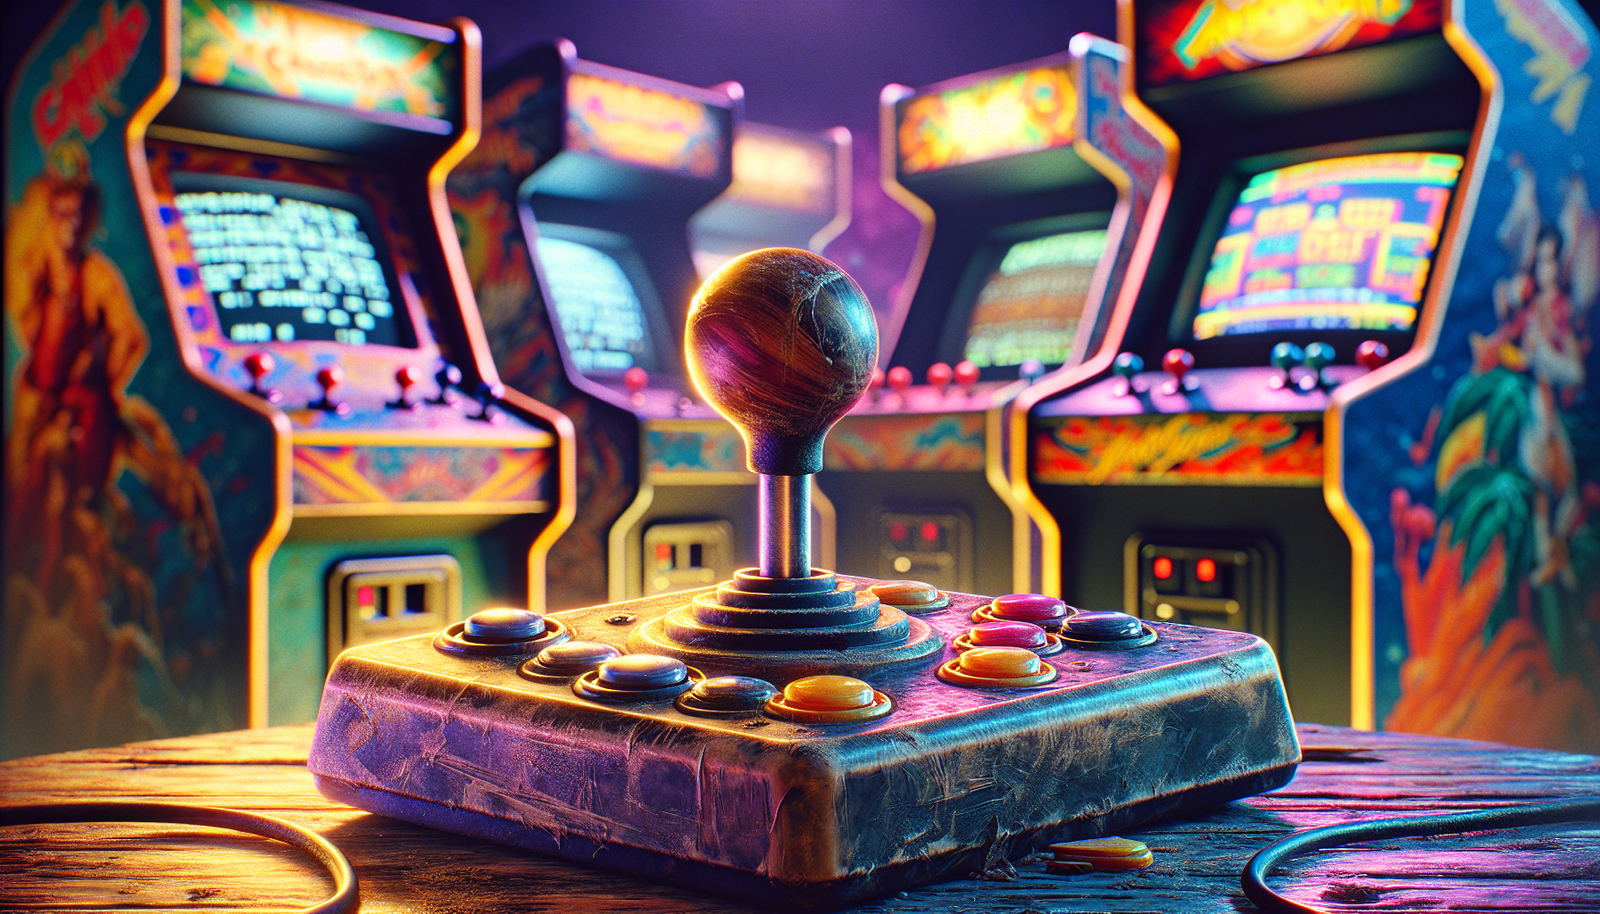
Before diving into the world of repairing retro arcade machines, it’s essential to understand how these beloved gaming devices work. Retro arcade machines typically consist of a cabinet housing the game’s hardware, a monitor or screen for displaying the game, a control panel with buttons and joysticks for player input, and internal components such as a power supply, motherboard, and speakers. Familiarizing yourself with these basic components will help you troubleshoot and repair any issues that may arise.
Common Issues with Retro Arcade Machines
Like any aging technology, retro arcade machines can develop various problems over time. Some common issues include malfunctioning buttons or joysticks, a faulty monitor displaying distorted or no picture, sound problems, power supply failures, and damage to the cabinet or artwork. It’s important to be aware of these common issues so you can quickly identify and address them during the repair process.
Tools and Equipment Needed for Repairs
To effectively repair retro arcade machines, certain tools and equipment are essential. Here’s a list of some of the tools you’ll frequently use:
- Screwdrivers (both flathead and Phillips) – for removing screws and accessing internal components.
- Needle-nose pliers – for gripping and manipulating small parts.
- Wire cutters and strippers – for cutting and stripping wires during component replacement.
- Soldering iron and solder – for soldering and desoldering electronic components.
- Multimeter – for testing electrical connections, diagnosing faults, and measuring voltage and resistance.
- Cleaning solutions and materials – for cleaning buttons, joysticks, and other components.
Having these tools readily available will make your repair process much smoother and more efficient.

Basic Troubleshooting Techniques
When encountering issues with a retro arcade machine, it’s crucial to have a systematic approach to troubleshooting. Start by checking the power supply and ensuring all cables and connectors are securely connected. Next, inspect the fuses and replace any blown ones. If the machine still isn’t functioning properly, move on to testing individual components such as buttons, joysticks, and the motherboard using a multimeter. This step-by-step approach will help you identify the root cause of the problem and take appropriate action.
Replacing Faulty Components
One of the most common repair tasks for retro arcade machines involves replacing faulty components. This could include buttons, joysticks, capacitors, resistors, or even the entire motherboard. Begin by identifying the faulty component through thorough testing and diagnostics. Once identified, carefully remove the defective part using appropriate tools and techniques. Replace it with a new component of the same type and rating, ensuring proper soldering and connection. Remember to test the machine after replacing the component to ensure the issue has been resolved.
Adjusting and Cleaning Arcade Buttons
Over time, arcade buttons can become sticky or unresponsive due to dirt, dust, or wear and tear. In some cases, they may require adjustment or cleaning to regain their optimal functionality. To adjust the buttons, access the control panel and tighten or loosen the button’s mounting nuts until it feels comfortable when pressed. Cleaning the buttons involves removing them from the control panel and soaking them in warm soapy water. Gently scrub away any dirt or grime using a soft brush, rinse thoroughly, and allow them to dry completely before reassembling.
Repairing the Monitor
A malfunctioning monitor is a common issue encountered in retro arcade machines. Symptoms may include a distorted or flickering picture, no display at all, or color-related problems. Begin by checking the connections between the monitor and the motherboard, ensuring they are secure. If the issue persists, it may be necessary to replace or repair the monitor itself. This can involve adjusting the brightness and contrast settings, swapping out faulty components such as capacitors, or seeking professional assistance from a specialized repair technician.
Dealing with Sound Issues
If you’re experiencing sound problems with your retro arcade machine, there are a few steps you can take to address them. Start by checking the connections between the speakers, the motherboard, and the power supply, ensuring they are securely plugged in. Next, test the speakers themselves using a multimeter to ensure they are functioning correctly. If the speakers are in working order but producing distorted or no sound, it may be necessary to replace components such as audio amplifiers or capacitors. Troubleshooting sound issues can sometimes be tricky, so don’t hesitate to seek expert advice if needed.
Fixing Power Supply Problems
A faulty power supply can cause a variety of issues in retro arcade machines, such as the machine not turning on at all or intermittent power loss. Conduct a visual inspection of the power supply, checking for any visible damage or blown fuses. If necessary, replace the blown fuses with new ones of the same rating. It’s also important to check the voltage output of the power supply using a multimeter to ensure it’s within the required range. If the power supply is still not functioning correctly, it may need to be replaced entirely to ensure proper operation of the arcade machine.
Restoring Cabinets and Artwork
Finally, restoring the cabinets and artwork of retro arcade machines is an important aspect of repair and maintenance. Over time, cabinets may become scratched, damaged, or discolored, detracting from their original appearance. Begin by cleaning the cabinet thoroughly, removing any dirt or grime. Use appropriate products and techniques to repair scratches, restore faded colors, and protect the cabinet from future damage. Reproducing or replacing original artwork can be a more involved process, but it can significantly enhance the visual appeal of the machine. Restoring cabinets and artwork will not only make your retro arcade machine look better but also preserve its value and authenticity.
With these comprehensive guidelines in hand, you’re ready to tackle retro arcade machine repair like a pro. Remember, patience, precision, and a passion for preserving these classic gaming devices are key qualities for successful repairs. So put on your trusty toolbelt, embrace the nostalgia, and get ready for an exciting journey into the world of retro arcade machine repair!