DIY Synth Kit Assembly
Do you have a passion for music and love experimenting with sounds? If so, then DIY Synth Kit Assembly is the perfect activity for you! This unique kit allows you to build your very own synthesizer from scratch, giving you the opportunity to create one-of-a-kind sounds and melodies. Whether you’re a beginner or an experienced musician, this DIY project provides endless possibilities for creativity and exploration. So why not dive into the world of electronic music and start assembling your very own DIY synth kit today? Let your imagination run wild and see where the power of music takes you.
DIY Synth Kit Assembly

Introduction to DIY Synth Kits
Welcome to the world of DIY synth kits! If you’re passionate about music and electronic circuits, assembling your own synthesizer can be a rewarding and creative endeavor. DIY synth kits provide a hands-on experience that allows you to understand the inner workings of a synthesizer while also giving you the opportunity to customize and personalize your instrument.
Choosing the Right DIY Synth Kit
Before diving into the assembly process, it is essential to select the right DIY synth kit for your skill level and musical preferences. There are various DIY synth kits available, ranging from beginner-friendly kits with pre-soldered components to advanced kits that require soldering and programming. Consider your experience level, budget, and desired features when selecting a kit.
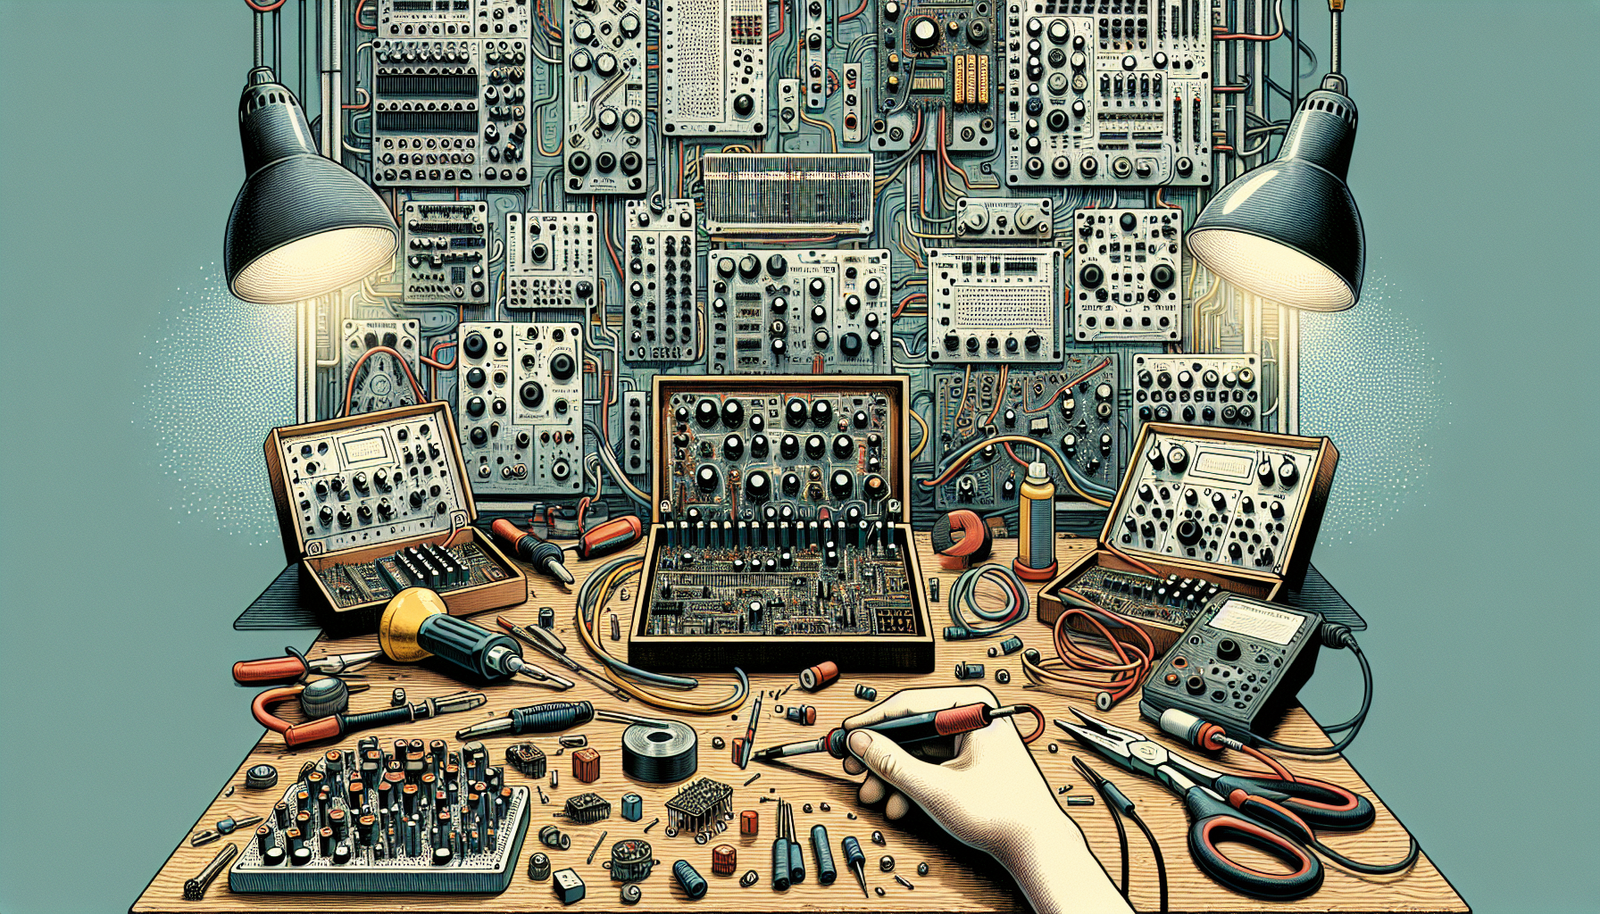
Required Tools and Materials
To successfully assemble your DIY synth kit, you will need a few essential tools and materials. These typically include a soldering iron, solder wire, wire clippers, needle-nose pliers, a soldering stand, a multimeter, and a workspace with good ventilation. Additionally, your DIY synth kit will come with all the necessary components, such as resistors, capacitors, IC chips, and circuit boards.
Preparing to Assemble
Before you begin the assembly process, it is crucial to set up a clean and well-organized workspace. Clear any clutter and ensure you have adequate lighting. Familiarize yourself with the components provided in the DIY synth kit and refer to the instruction manual for any specific guidance. Take your time to understand the circuit diagram and make sure you have all the necessary tools and materials within reach.

Step-by-Step Assembly Guide
Now that you’re ready to start assembling your DIY synth kit, follow the step-by-step guide provided in the instruction manual. Each DIY synth kit may have a slightly different assembly process, so ensure you carefully read and follow the instructions provided. Take your time and double-check your work at each stage to avoid any mistakes. Don’t hesitate to refer to online tutorials or seek help from DIY synth communities if you encounter any difficulties.
Soldering the Components
Once you have completed the initial assembly of the circuit board, it’s time to solder the components in place. Soldering is a technique used to electrically and mechanically connect the electronic components to the circuit board. Carefully heat the soldering iron, apply a small amount of solder to the joint, and then attach the component. Be cautious not to create any solder bridges or cold joints, as they can cause malfunctions in the circuit.

Testing the Circuit
With all the components soldered onto the circuit board, it’s important to test the functionality of the circuit. Connect a power source as per the instruction manual and check for any signs of malfunction or unusual behavior. Use a multimeter to measure voltages and ensure that the circuit is functioning as intended. If you encounter any issues, consult the troubleshooting section of the instruction manual or seek assistance from DIY synth communities.
Mounting the Controls and Interfaces
After verifying the functionality of the circuit, it’s time to mount the controls and interfaces onto the synth kit’s enclosure. Follow the instructions to attach knobs, switches, potentiometers, and other user interface components to the front panel of the DIY synth. Take care to align them properly and secure them in place using screws or adhesive. This step provides the finishing touches to your DIY synth and makes it easier to control.

Wiring and Connecting Components
Once the controls and interfaces are mounted, it’s time to wire and connect the components. Use the provided wires to establish the necessary connections between the controls, interfaces, and the circuit. Ensure that the wiring is neat and organized, avoiding any unnecessary crossings or overlaps. Follow the circuit diagram and double-check each connection to avoid potential issues in the functioning of the synth.
Powering Up the Synth
Before powering up your DIY synth, carefully review the power requirements and safety precautions specified in the instruction manual. Ensure that you have the correct power supply and connect it to the designated input of the synth. Gradually increase the power and check for any abnormal behaviors or malfunctions. Adjust the controls and explore the sounds your DIY synth produces, and remember to have fun while doing so!
Troubleshooting and Fine-tuning
If you encounter any issues or find that certain components are not functioning correctly, refer to the troubleshooting section of the instruction manual or seek help from DIY synth communities. Sometimes, a minor adjustment or replacement of a faulty component can resolve the issue. Additionally, as you become more familiar with your DIY synth, you may want to fine-tune certain parameters or experiment with modifications to suit your musical preferences.
Adding Personal Touches
One of the unique aspects of DIY synth kits is the opportunity to add personal touches and modifications. Consider customizing the appearance of your DIY synth by painting or decaling the enclosure, or even adding LED lights for visual flair. Additionally, you can explore firmware or software modifications to expand the capabilities of your DIY synth. Let your creativity run wild and make your DIY synth truly one-of-a-kind.
Exploring DIY Synth Communities
Assembling a DIY synth kit is not just a solitary activity. Joining DIY synth communities can provide invaluable resources, guidance, and inspiration. Engage with fellow enthusiasts, share your experiences, and learn from others. Online forums, social media groups, and local meetups can connect you with like-minded individuals who are passionate about building their own synths. Expand your knowledge, collaborate on projects, and contribute to the DIY synth community.
Final Thoughts and Future Projects
Congratulations! You have successfully assembled your DIY synth kit and have embarked on a fascinating musical journey. As you explore the capabilities of your DIY synth, remember to have fun and experiment with different sounds and textures. With your newfound knowledge and experience, you may even consider tackling more complex DIY synth projects in the future. The possibilities are endless, and the world of DIY synths is waiting for you to explore it. Enjoy the process and create music that is uniquely yours.