Diving Into the World of Miniature Bookbinding
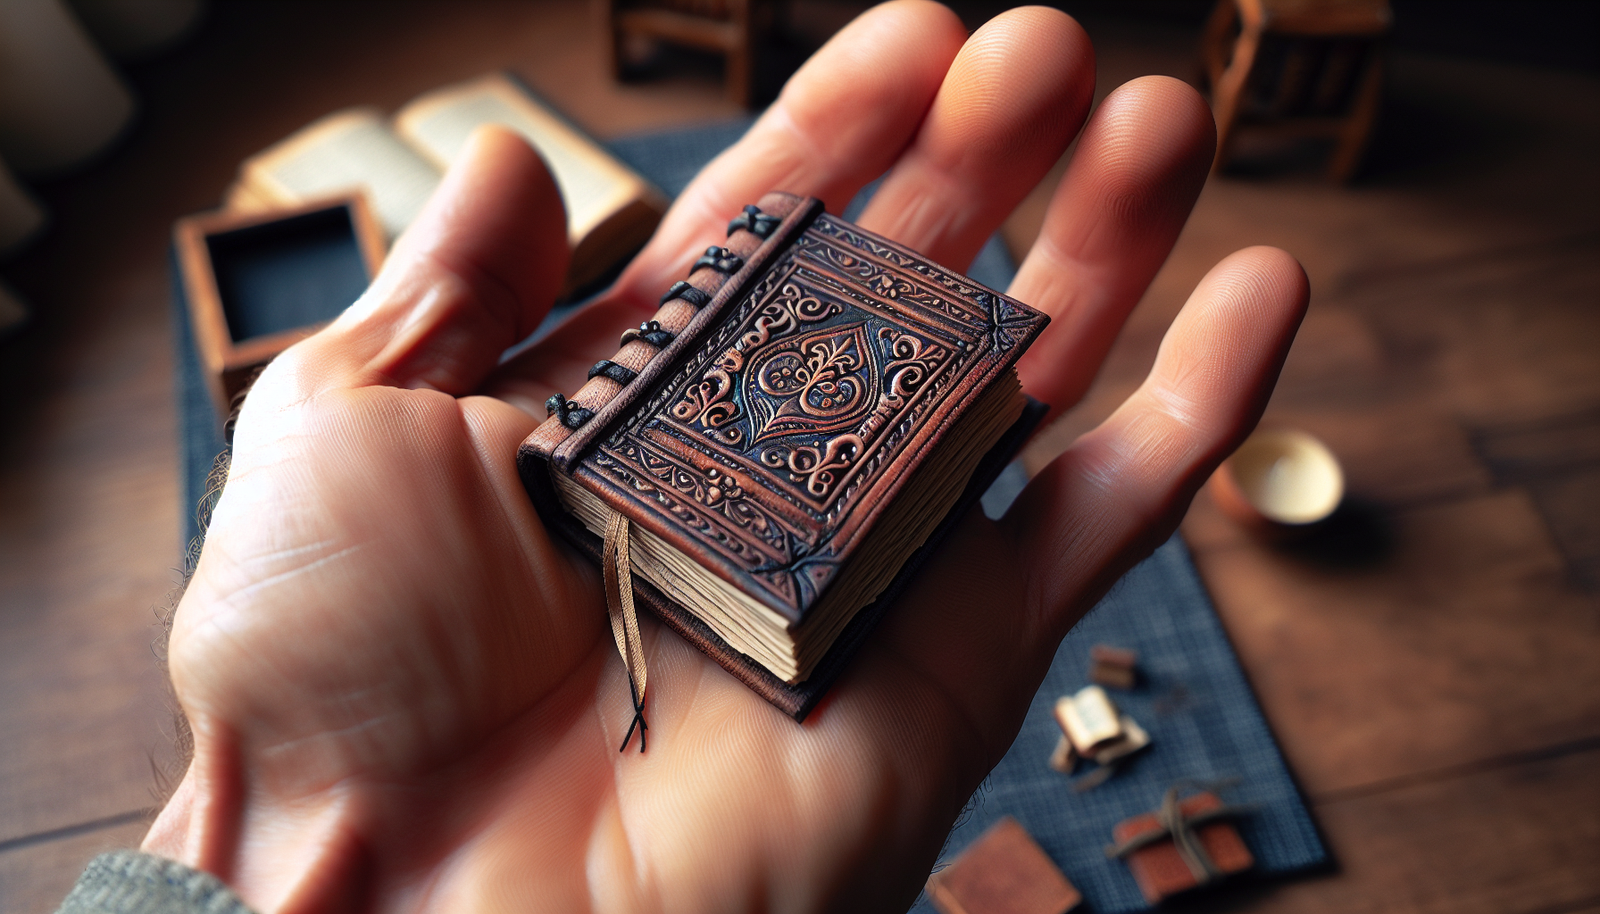
Imagine a world where books fit in the palm of your hand, each page intricately crafted with the tiniest of details. This is the fascinating realm of miniature bookbinding, where skilled artisans use their nimble fingers and keen eyes to create exquisite books on a minuscule scale. From intricately carved leather covers to hand-stitched pages, these tiny treasures are a testament to the artistry and dedication of their creators. In this article, we will explore the enchanting world of miniature bookbinding, delving into the techniques, materials, and history behind these remarkable creations.
Choosing the Right Materials
When it comes to miniature bookbinding, choosing the right materials is crucial to the success and longevity of your project. Let’s take a closer look at the key considerations for selecting the paper, cover material, and thread and binding materials.
Selecting the Paper
The first step in creating a miniature book is selecting the appropriate paper. It’s important to choose a paper that is thin yet durable, as the pages need to be able to withstand the handling and flipping that comes with reading a book. Look for lightweight, acid-free paper that is smooth and easy to fold. This will ensure that your book not only looks great but also stands the test of time.
Choosing the Cover Material
The cover material is another important aspect to consider when binding a miniature book. You have a variety of options to choose from, including leather, fabric, or cardstock. Leather is a classic choice that offers durability and elegance, while fabric can add a touch of texture and charm. Cardstock offers a more affordable alternative and allows for customization through painting or decorating.
Considering the Thread and Binding Materials
The type of thread and binding materials you choose will play a significant role in the overall strength and appearance of your miniature book. Linen thread is a popular option due to its strength and flexibility. It is available in different colors, allowing you to match or contrast with your chosen cover material. As for binding materials, consider using cardboard or bookboard to create a sturdy foundation for your book.
Tools and Equipment
To successfully bind a miniature book, you’ll need to have the right tools and equipment on hand. Let’s explore the basic tools for miniature bookbinding, as well as some specialized tools and equipment for precise measurements.
Basic Tools for Miniature Bookbinding
Some basic tools you’ll need for miniature bookbinding include a cutting mat, ruler, bone folder, awl, needle, and scissors. These tools will help you with tasks such as cutting and folding pages, piercing holes for sewing, and trimming excess materials.
Specialized Tools
In addition to the basic tools, there are a few specialized tools that can enhance the precision and efficiency of your miniature bookbinding. These may include a bookbinding press, sewing frame, bookbinding needles, and a folding jig. While not essential for beginners, these tools can make the process smoother and more professional-looking.
Equipment for Precise Measurements
Accurate measurements are crucial for achieving a well-balanced and visually pleasing miniature book. To ensure precision, consider using tools such as a micrometer or caliper for measuring thickness, a small ruler with clear markings for precise cuts, and a square for maintaining straight edges and corners.

Understanding Bookbinding Techniques
Now that you have a grasp of the materials and tools needed for miniature bookbinding, it’s time to delve into the various bookbinding techniques you can utilize. Here are some of the most commonly used techniques in miniature bookbinding:
Folded Page Technique
The folded page technique involves folding a single sheet of paper to create a series of pages. This technique is simple yet effective, making it a popular choice for beginners. It allows for easy customization by adding decorative elements.
Coptic Stitch Binding
Coptic stitch binding is a beautiful open-spine binding technique that originated in ancient Egypt. It involves sewing individual signatures together with a continuous thread, resulting in a visually stunning exposed stitching pattern.
Japanese Stab Binding
Japanese stab binding is a traditional binding technique that uses a series of decorative stitches along the spine. This technique offers flexibility in terms of thread color and pattern, making it ideal for adding artistic flair to your miniature books.
Perfect Binding
Perfect binding, also known as adhesive binding, is commonly used in paperback books. It involves applying glue to the spine of the book block and attaching it to the cover. This technique is suitable for thin books with a larger number of pages.
Sewn Board Binding
Sewn board binding is a technique that involves sewing the book block directly onto the covers. This method creates a sturdy binding that allows the book to open flat, making it perfect for sketchbooks or journals.
Dos-à-dos Binding
Dos-à-dos binding is a fascinating technique that involves binding two separate books together with a single cover. This technique creates a unique structure where two books share a spine, offering a playful and creative way to showcase multiple stories or themes in one miniature book.
Accordion Binding
Accordion binding involves folding a long sheet of paper into a zigzag pattern, creating multiple panels that can be used for illustrations or text. This technique is great for children’s books or displaying sequential artwork.
Long Stitch Binding
Long stitch binding is a versatile technique that involves sewing the book block directly onto the cover with a long stitch. This method allows for the integration of decorative elements and can create visually striking exposed stitching patterns.
Pamphlet Stitch Binding
Pamphlet stitch binding is a simple and quick technique that involves folding a sheet of paper to create a booklet and sewing it together with a single strand of thread. This technique is ideal for creating small informational or promotional booklets.
Designing and Planning Your Miniature Book
Once you have a good grasp of the materials, tools, and techniques involved in miniature bookbinding, it’s time to dive into the design and planning process. Let’s explore some key considerations for designing and planning your miniature book.
Choosing the Book Size and Shape
One of the first decisions you’ll need to make when designing your miniature book is the size and shape. Consider the purpose and theme of your book. Does it need to fit in a specific space or convey a particular message? These factors will guide your decision-making process and ensure that your book fits its intended purpose.
Creating a Mockup
Before diving into the final binding process, it’s recommended to create a mockup of your miniature book. This will allow you to test your chosen materials, techniques, and design elements before committing to the final product. You can experiment with different layouts, sizes, and embellishments to achieve the desired look and feel.
Mapping Out the Binding Structure
Mapping out the binding structure is a crucial step in the planning process. Consider the number of pages, signatures, and the desired layout for your book. Sketch out the sewing pattern or spine structure on a separate sheet of paper to ensure a smooth and efficient binding process.
Considering Embellishments and Decorations
Embellishments and decorations can add a touch of personalization and creativity to your miniature book. Think about incorporating elements such as decorative endpapers, gilding edges, embossing or debossing details, or even creating miniature bookmarks. These embellishments can enhance the overall aesthetics and make your miniature book truly unique.

Preparing and Assembling the Book Block
With the design and planning stage complete, it’s time to prepare and assemble the book block—the core of your miniature book. Let’s explore the steps involved in this crucial phase.
Cutting and Folding the Pages
Start by cutting your chosen paper into the desired size for your book pages. Accuracy is key, so make sure to use a sharp blade and a straight edge. Once the pages are cut, carefully fold them in half to create a neat and precise crease.
Adding Signatures
To create a more robust book block, you’ll want to group your folded pages into signatures. A signature consists of several folded pages stacked and aligned together. Use a bone folder to press the folds firmly, helping the pages stay in place during the binding process.
Sewing the Signatures Together
Sewing the signatures together is a critical step in the assembly process. Using a sewing needle and linen thread, carefully sew through the aligned folds of the signatures, starting from the center and working your way outward. Ensure that the tension of the thread is consistent, as this will ensure a sturdy binding.
Attaching Headbands and Endbands
Headbands and endbands not only add a decorative touch to your miniature book but also provide additional reinforcement to the spine. Attach headbands at the top and bottom of the book by sewing them onto the book block, and fold them over to the interior of the book. This process adds durability and a polished appearance to your binding.
Creating the Book Cover
The book cover is not only the protective layer for your miniature book but also an opportunity to add aesthetic appeal. Let’s explore the steps involved in creating an attractive and functional book cover.
Measuring and Cutting the Cover Material
Measure the dimensions of the assembled book block and add a small allowance for the cover material. Cut the cover material accordingly, ensuring that it is slightly larger than the book block to allow for a snug fit. A sharp blade, a straightedge, and patience are key to getting clean and precise cuts.
Adding Decorative Elements
Once you have cut the cover material to size, it’s time to add decorative elements. This could include painting, stamping, or adding collage elements to the cover. You may also consider adding a title or artwork to the spine or cover. Let your creativity shine and make the cover a reflection of the contents within.
Considering Protective Layers
To protect your miniature book from wear and tear, considering adding protective layers to the cover. This could be a layer of clear adhesive film, a thin sheet of plastic, or even a layer of glue-based varnish. These protective layers will help preserve the aesthetics and durability of your book.
Binding the Miniature Book
With the book block and cover ready, it’s time to bind them together to complete your miniature book. Let’s walk through the binding process step by step.
Aligning the Book Block and the Cover
Place your book block onto the cover, making sure it is centered and aligned properly. Use a bone folder or your fingers to press down on the book block, ensuring that it adheres well to the cover.
Attaching the Book Block to the Cover
To attach the book block to the cover, you have a few options. You can use adhesive, such as glue or double-sided tape, to stick the book block to the inside of the cover. Alternatively, you can also sew the book block directly onto the cover using a binding needle and thread. Choose the method that best suits your preference and desired aesthetics.
Reinforcing the Binding
To reinforce the binding and ensure that your miniature book lasts for a long time, consider adding reinforcement elements such as bookbinding cloth or fabric tape. This will add extra support to the binding area and protect it from wear and tear.
Finishing Touches
The finishing touches are what will truly bring your miniature book to life. Trim any excess materials, check for any loose threads or glue, and make sure the book opens smoothly. Take a step back and admire your creation before moving on to embellishing and decorating your book further.
Adding Embellishments and Decorations
Embellishments and decorations are the final flourish that will make your miniature book truly special. Let’s explore some popular options for adding those finishing touches.
Decorative Endpapers
Decorative endpapers are a fantastic way to add beauty and visual interest to the interior of your miniature book. Consider using patterned paper, marbled paper, or even hand-painted designs to create unique and captivating endpapers.
Gilding Edges
If you want to add a touch of elegance and luxury to your miniature book, consider gilding the edges. This technique involves applying a thin layer of gold leaf, metallic paint, or foil to the exposed page edges. Gilding provides a stunning visual effect and increases the longevity of your book.
Embossing or Debossing Details
Embossing or debossing details can be used to elevate the design and texture of your miniature book. Using specialized tools and heat, you can create raised or indented designs on the cover or spine. This technique adds depth and visual interest to your book.
Creating Miniature Bookmarks
To add functionality and convenience to your miniature book, consider creating miniature bookmarks. Use thin ribbons or decorative cords to create bookmarks that complement the overall design of your book. These functional embellishments will add practicality and charm to your creation.
Troubleshooting Common Issues
Even with careful planning and execution, issues may arise during the miniature bookbinding process. Let’s look at some common problems and their possible solutions.
Page Misalignment
If you notice that the pages of your miniature book are not lining up properly, double-check your folding and sewing techniques. Make sure that the folds are crisp and aligned, and that the sewing is tight and consistent. Folding and sewing with precision will help ensure that the pages align perfectly.
Loose Binding
If you find that your miniature book’s binding feels loose or wobbly, consider reinforcing it with additional sewing or adhesive. Check that the stitching is tight and secure, and that the book block is firmly attached to the cover. These steps will help eliminate any looseness and improve the overall durability of the binding.
Cover Alignment
If the cover of your miniature book is not aligned properly with the book block, gently adjust it until it sits flush. If the cover is glued on, carefully peel it off and reposition it. If the book block is sewn onto the cover, loosen the stitching and realign it before sewing it back together. Take your time to ensure that both the book block and cover are aligned perfectly.
Tight Binding
If the binding of your miniature book feels too tight and doesn’t allow the book to open fully, it’s important to adjust it for ease of use. Gently loosen the sewing or adhesive, making sure not to damage the pages or cover. This will allow the book to open and lay flat, making it more enjoyable to read and browse through.
Displaying and Preserving Miniature Books
Once you’ve completed your miniature bookbinding project, it’s time to think about how you will display and preserve your creation. Here are some tips to help you showcase and protect your miniature books.
Choosing Display Options
Consider using a display case or shelf to exhibit your miniature books. Clear acrylic or glass cases are a popular choice as they offer protection from dust and direct handling while still allowing your books to be viewed. Alternatively, you can use specialized book display stands or easels to showcase individual books or a collection.
Creating a Protective Case
To protect your miniature books from potential damage, consider creating custom protective cases. These can be made from sturdy materials such as cardboard or bookboard, and lined with acid-free paper or fabric. The cases should provide a snug fit and secure closure to prevent dust, light, and humidity from affecting the books.
Applying Conservation Techniques
If you’re particularly concerned about the longevity and preservation of your miniature books, you may want to consider applying conservation techniques. This involves using acid-free materials, archival adhesives, and proper storage conditions to minimize deterioration. Consulting with a professional conservator can provide valuable guidance in preserving your miniature books for future generations to enjoy.
As you embark on your journey into the world of miniature bookbinding, remember to have fun and let your creativity soar. With the right materials, tools, and techniques, you can create miniature books that not only showcase your skills but also captivate and delight readers. Happy bookbinding!


